
Run your first cohort
Goal: extract a project code from three fictional documents and receive CSV, Excel, and JSON. Complete setup first. This walkthrough uses synthetic documents, but processing calls your selected model and may incur its usual costs.
1. Create the cohort
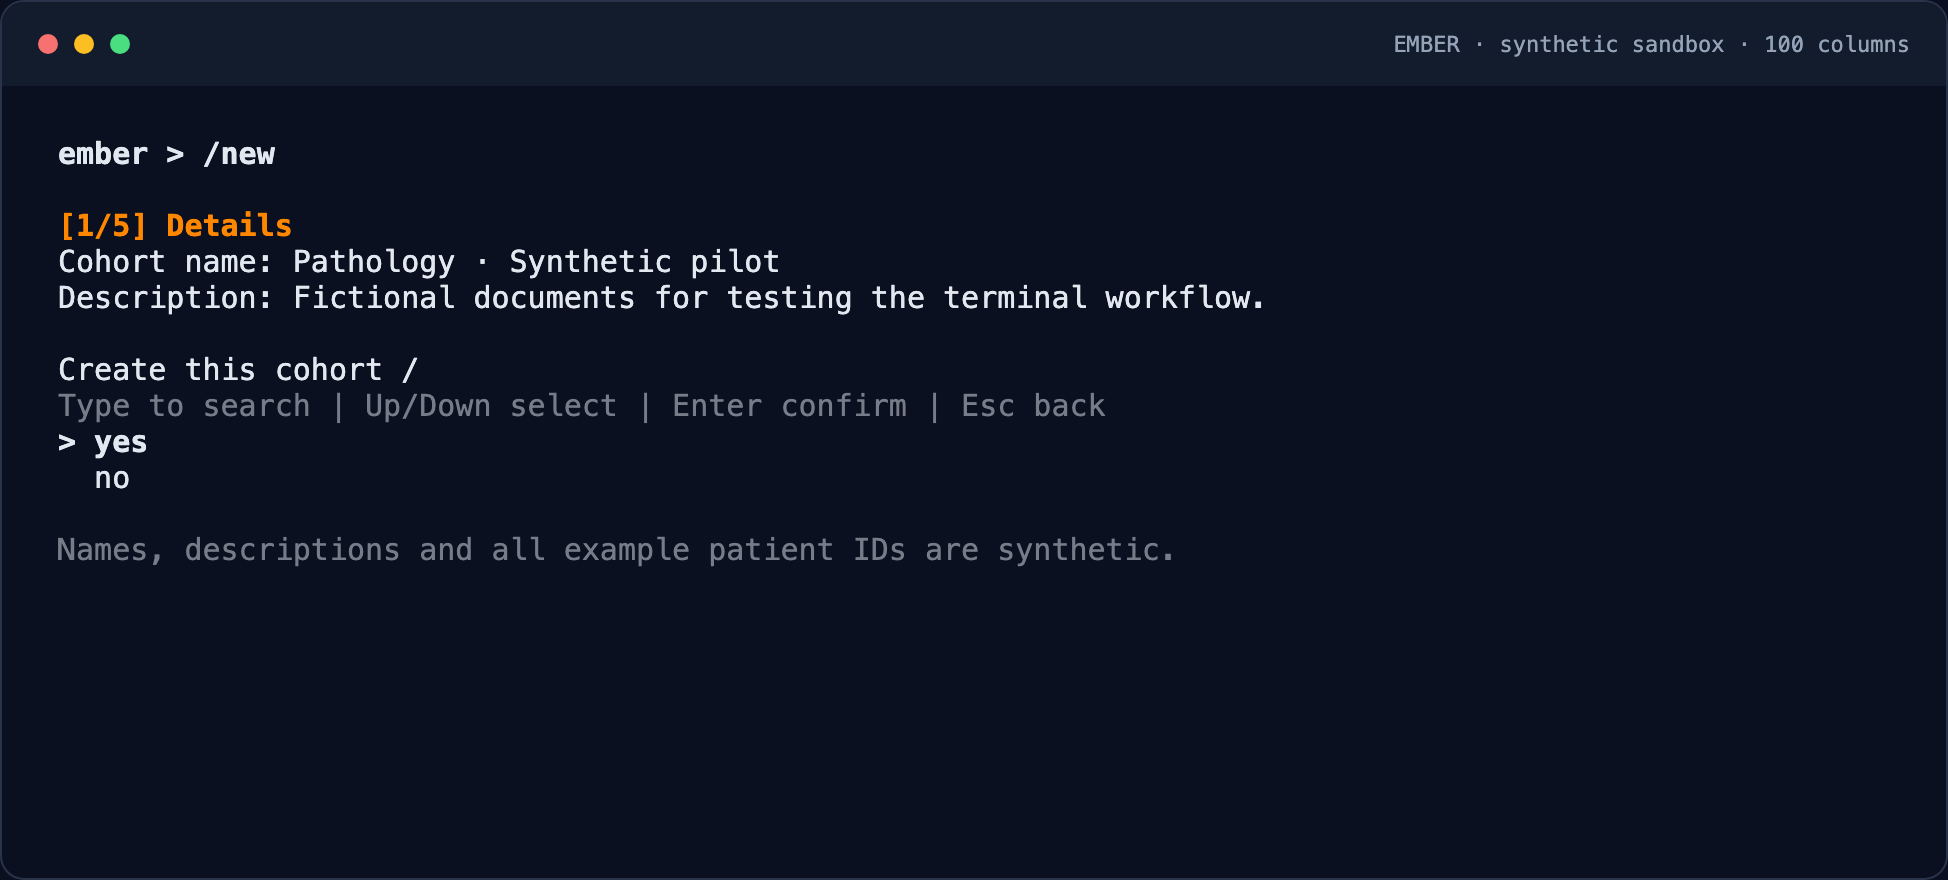
Inside Ember, enter /new. Name it First extraction. The guided flow covers Details → Documents → Prompts → Readiness → Process.
2. Import the example documents
Choose examples/quickstart/documents.csv from the repository. If you launched Ember from another folder, supply the absolute path.
Check the preview: patient 00123 has two documents; 00456 has one. Confirm the patient IDs, document profiles, and source counts before importing.
patient_id,document_text,document_type
00123,"Fictional record. Project code: ALPHA. Follow-up interval: 14 days.",note| Column | What to provide |
|---|---|
| patient_id | Your original patient identifier; leading zeros are retained |
| document_type | A type matching your prompts, such as note |
| document_text or document_url | Exactly one populated source per row |
| document_category | Optional; defaults to general |
| encounter_id | Optional stay identifier |
You do not need to invent a document_id. Extra columns are reported but not retained as custom metadata. Both source columns may exist in one file, but each row must populate only one. Text is used directly; URL documents are fetched before text extraction. Searchable local PDFs are supported; scanned PDFs need OCR beforehand.
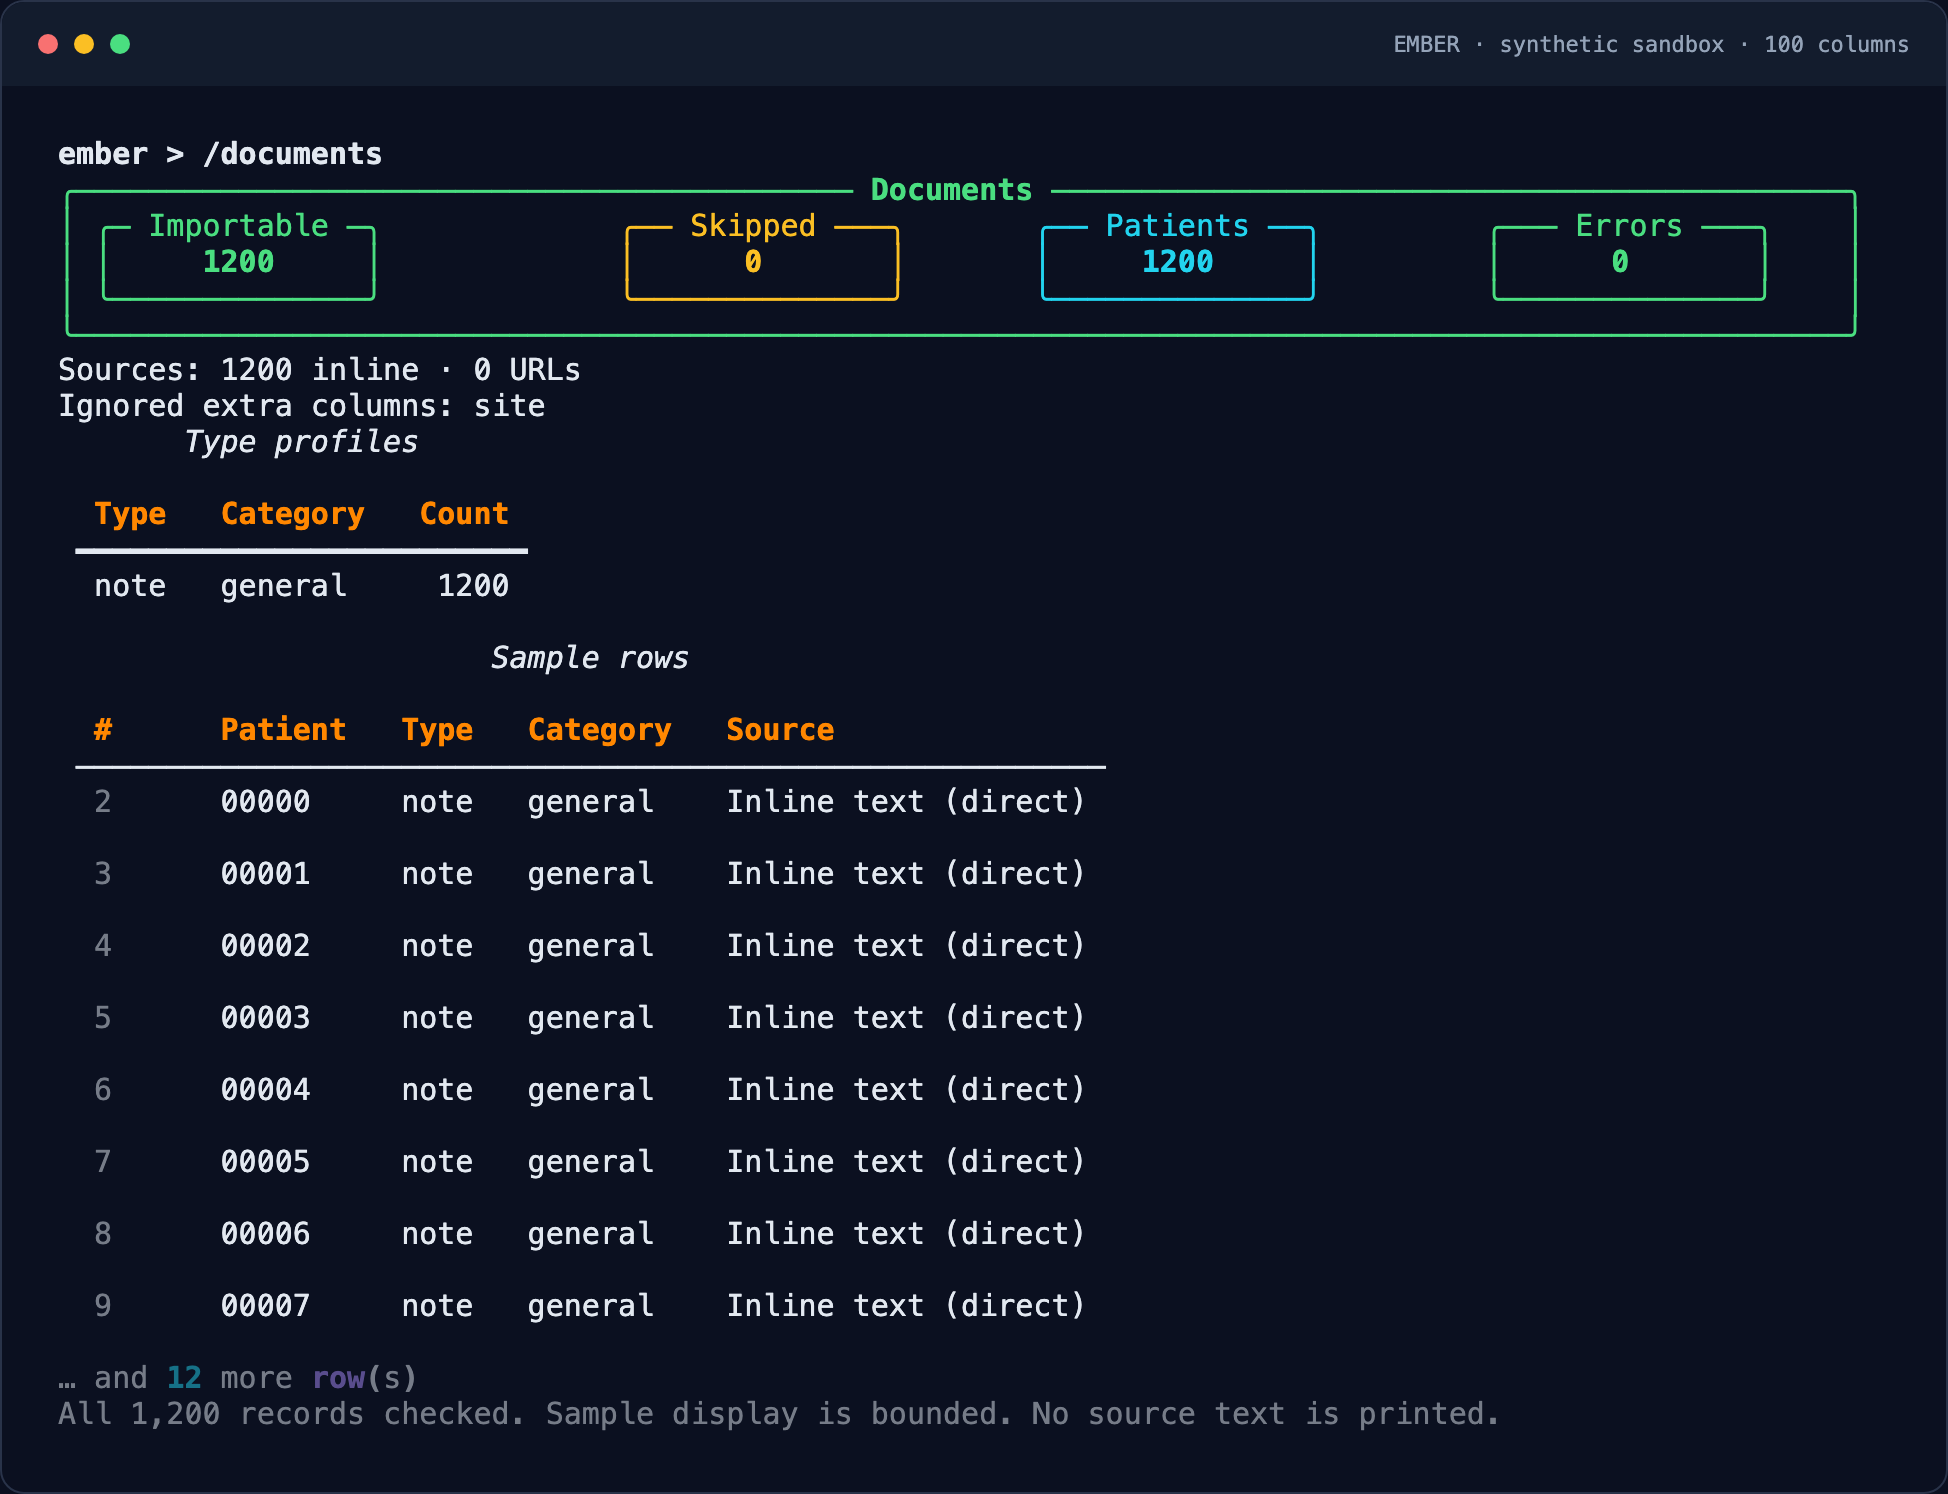
The preview checks the entire file, not only the displayed sample. If it reports errors, edit the indicated spreadsheet rows, then choose retry or another file. Do not confirm until the mapping is correct.
3. Add prompts
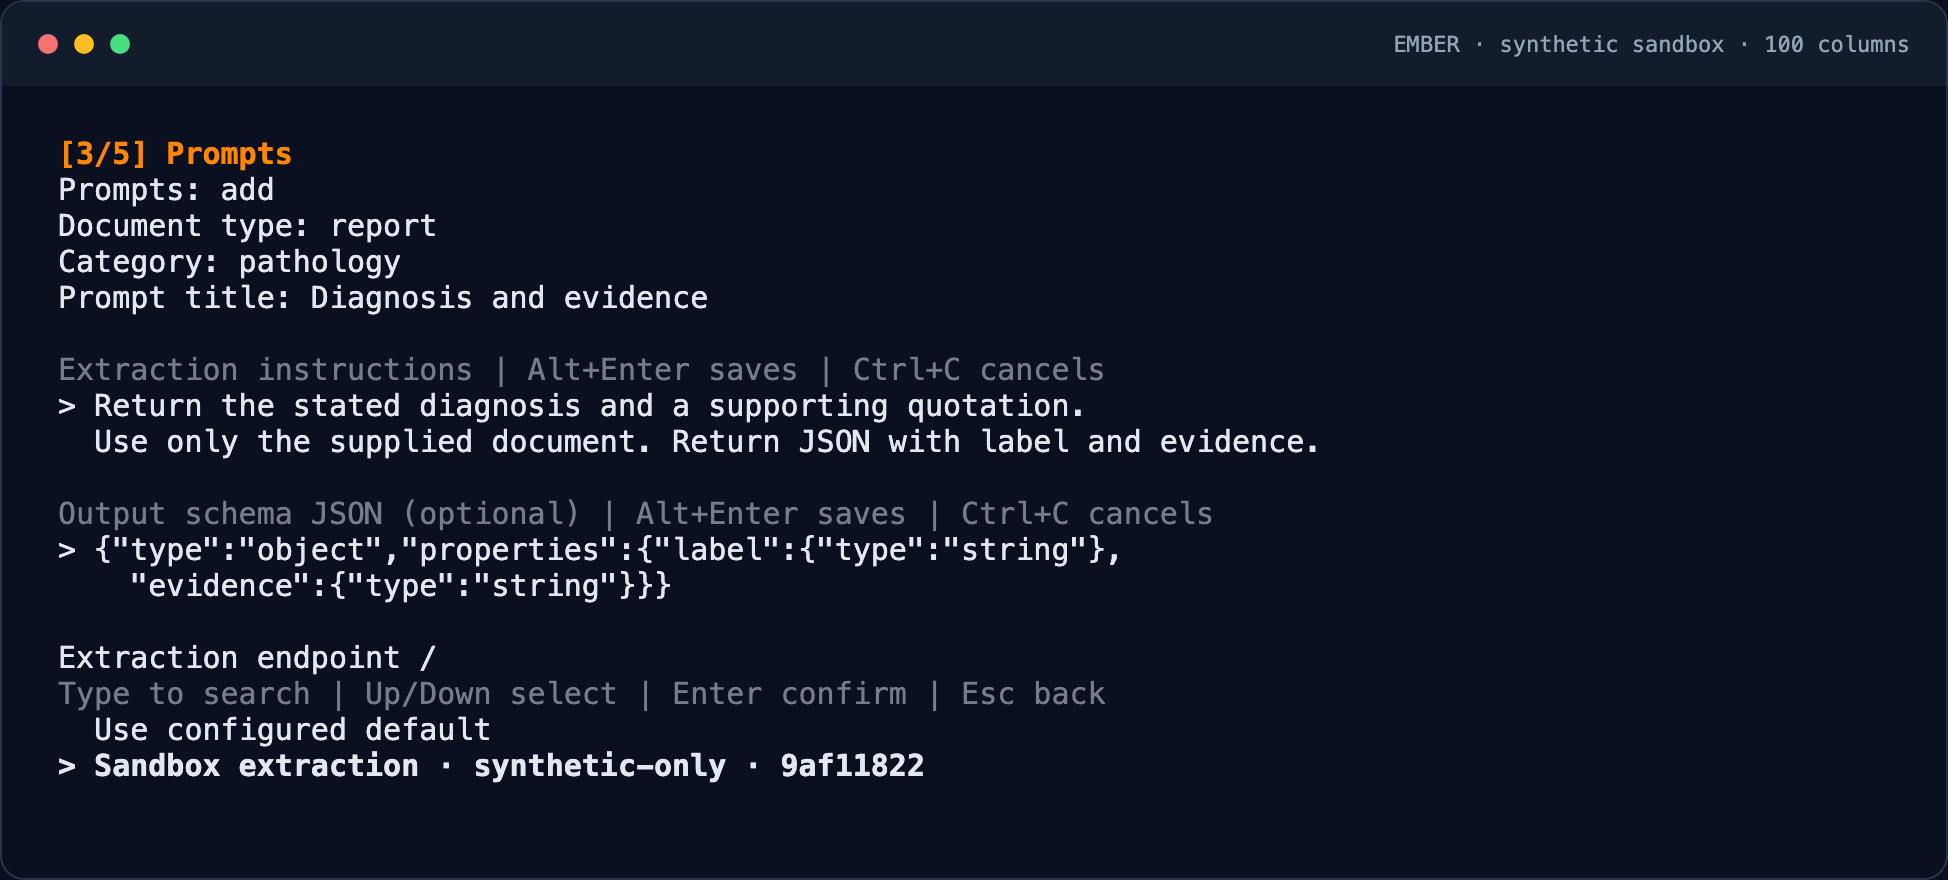
Import examples/quickstart/prompts.json in the Prompts step. Select the available extraction endpoint and verify profile coverage. You can instead use a reusable prompt pack.
A prompt must match the document type/category. For documents without an explicit category, use general. A saved pack does not automatically apply itself to a cohort.
4. Review and start processing
Inspect the processing preview: eligible documents, exclusions, endpoint, and model. Select a writable local output directory. Confirm only when the scope matches your intention.
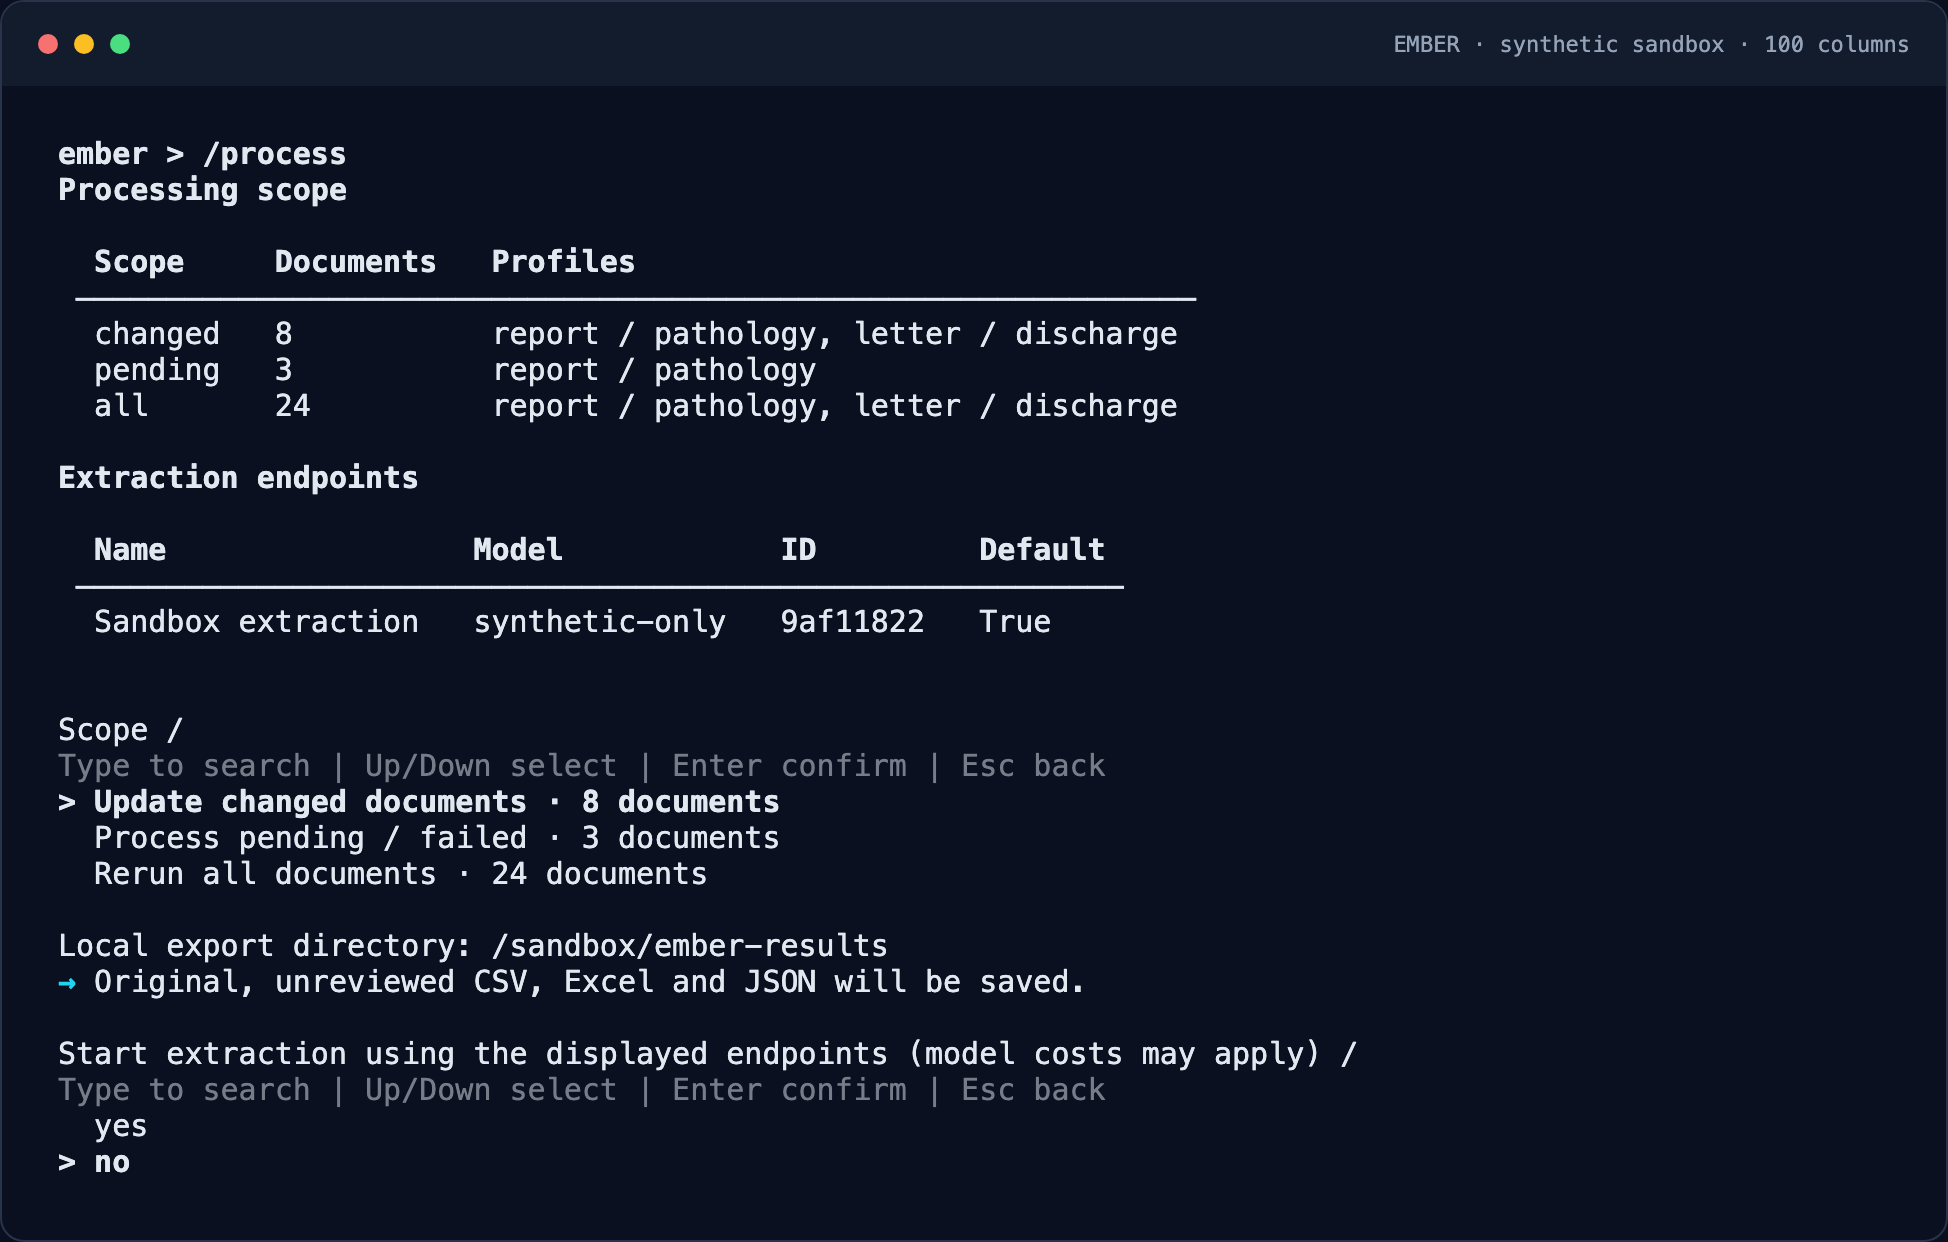
For later changes, /process offers pending/failed documents, changed documents, or a full rerun. Changing prompts alone does not start processing. New runs retain historical records.
5. Monitor and collect results
Keep monitoring open. You should see the endpoint/model and completed, active, pending, partial, and failed counts. On completion, Ember downloads all three formats from one snapshot.
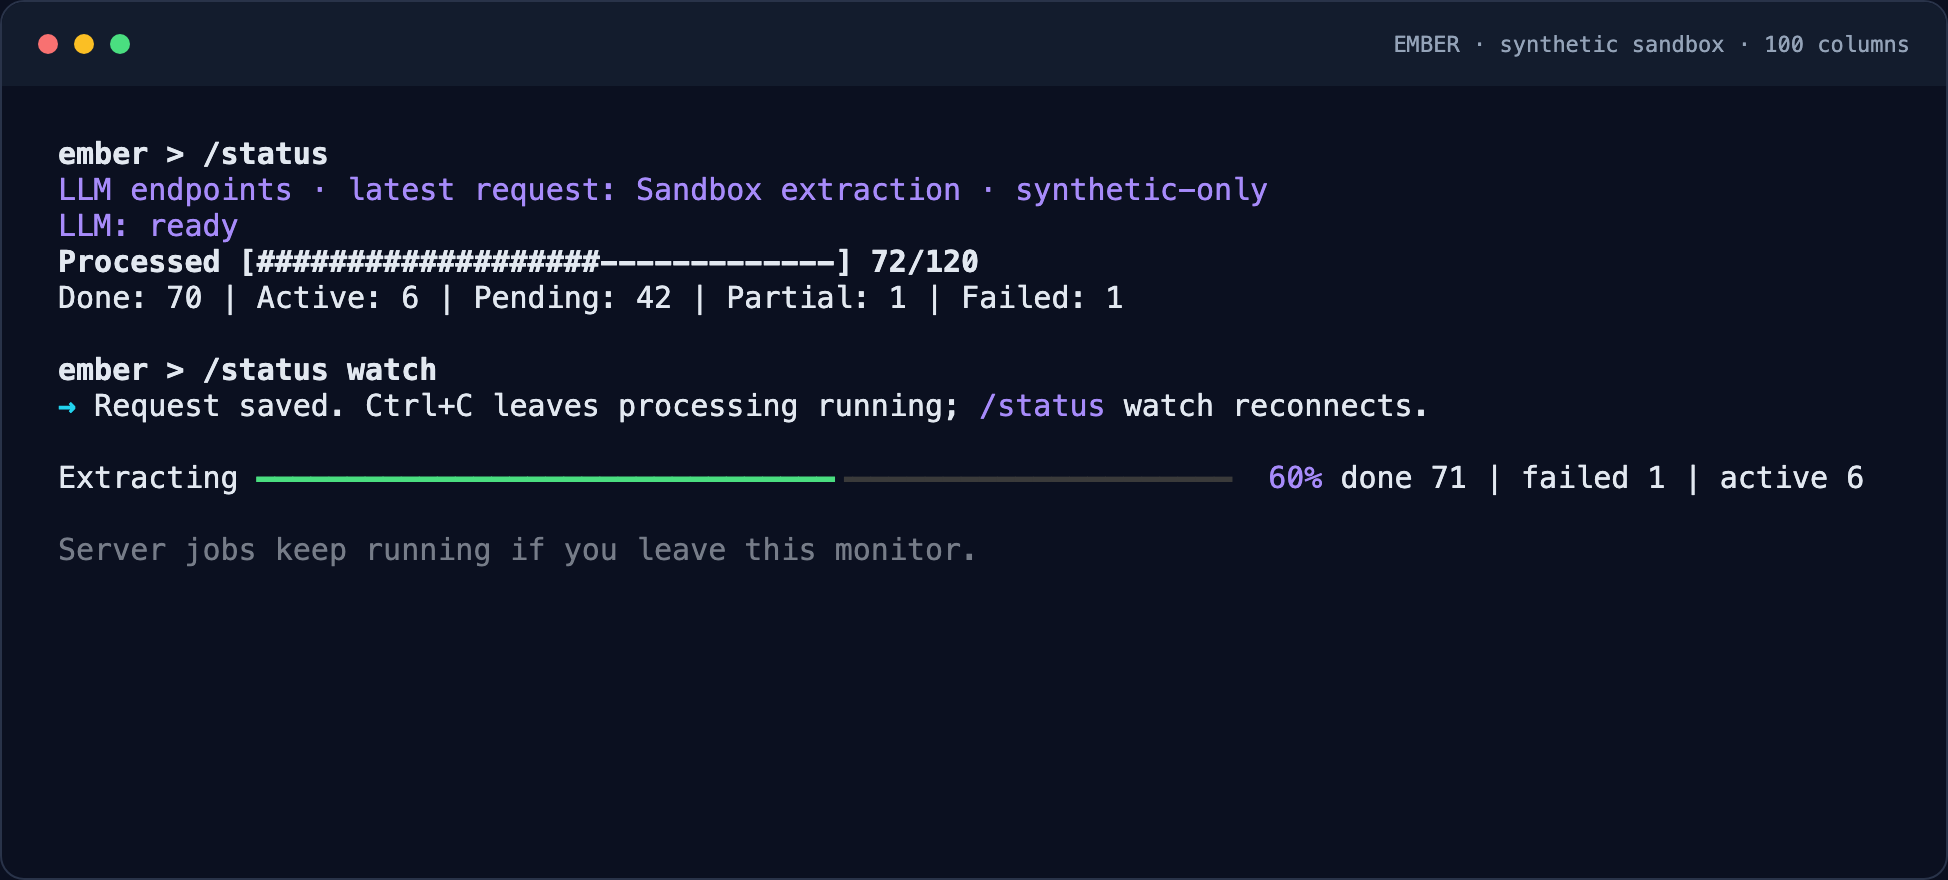
If you leave the workspace, server jobs continue. Reopen Ember, select the cohort with /use, and run /status watch to continue monitoring and delivery.
Done when: CSV, Excel, and JSON are present in the delivery directory. Continue to exports and patient mapping to verify the outputs, or monitoring and recovery if delivery was interrupted.