
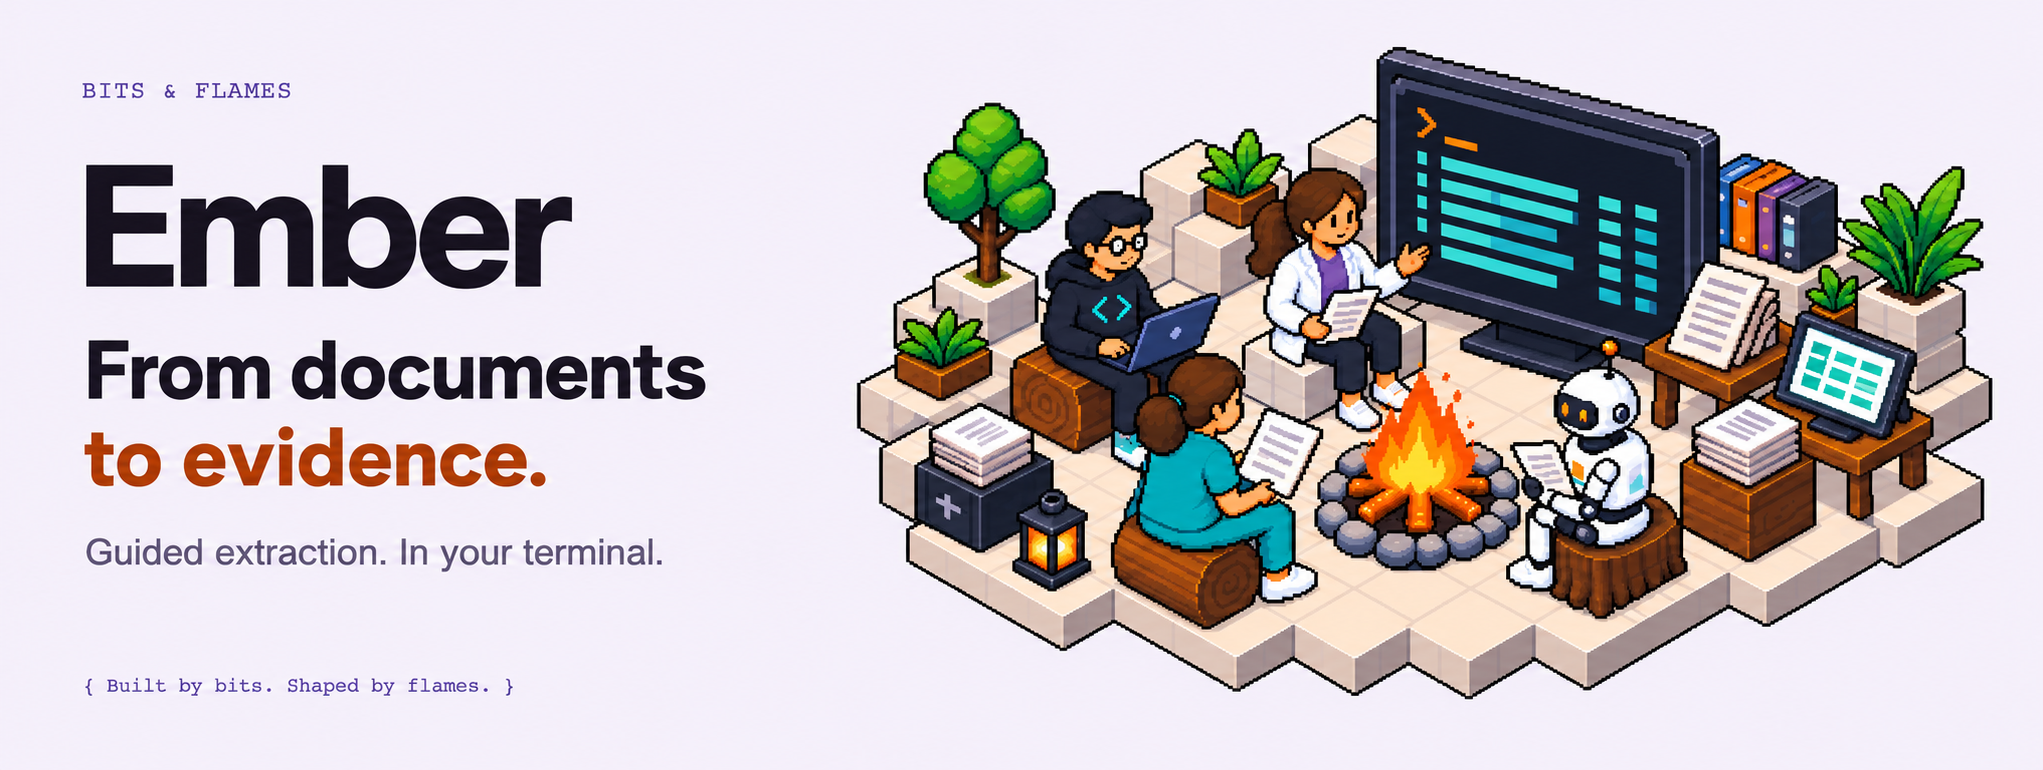
Turn documents into structured results
Ember CLI helps you ask the same extraction questions across a collection of documents, follow the work, and take the results into CSV, Excel, or JSON. Ember guides you through each step in your terminal.
Why use Ember?
Use Ember when you have many documents and need consistent questions, traceable results, and a repeatable extraction workflow. For example: extract a project code and follow-up interval from every document, then map the answers back to the original patients.
| Your task | How Ember helps |
|---|---|
| Ask the same questions repeatedly | Save prompts and reuse prompt packs across cohorts |
| Keep results linked to their source | Retain patient IDs alongside document, prompt, and run identifiers |
| Keep your work in one place | Configure, process, monitor, and export from the terminal |
| Use institutional infrastructure | Connect an approved API, document source, and compatible model endpoint |
| Recover after disconnecting | Resume monitoring and incomplete downloads without rerunning extraction |
Ember organizes extraction; the configured model produces the answers. Model output still needs validation for your intended use. The CLI exports original, unreviewed values by default.
What are you working with?
A cohort is a named collection of documents and extraction prompts. A prompt is a question or instruction applied to matching document types. A prompt pack is a reusable collection of these questions. A run records an extraction attempt; an export snapshot keeps downloaded formats consistent.
Patient ID + text or URLPrompts
Questions + modelProcessing
Progress + historyResults
CSV · Excel · JSON
For your first run, use the included fictional CSV. You do not need a FHIR server, a document server, or real patient data to learn the workflow. You do need an accessible model endpoint to perform extraction.
What do you need before starting?
| Required | Get it from |
|---|---|
| Python 3.11+, uv, and Git | Your local development environment |
| An Ember backend | Run the local Docker stack or use your institution's existing Ember API |
| A compatible model endpoint | Your administrator, a LiteLLM gateway, or a local/server vLLM deployment |
| Documents and questions | Start with the repository's fictional example files |
| A writable output folder | Choose a local directory for exported files |
Only for protected document URLs: obtain fetching credentials from your administrator. Inline text and local files can skip fetching setup. Only for a local backend: install and start Docker with Compose.
The backend is separate from the model server: it stores cohorts and schedules jobs; the model endpoint performs inference. Local backend mode keeps scheduling on this machine. An existing API runs jobs at that deployment. Check with your administrator before using institutional documents or sending content to a remote model.
How do you get your first result?
1. Connect your workspace
Follow setup to install the CLI, choose a backend, sign in, and configure inference. Finish when: you can sign in and select a configured model endpoint.
2. Try one fictional cohort
Run the first-cohort example: import three documents, add the example prompts, and confirm the processing preview. Finish when: progress shows that processing has finished.
3. Check your files and patient mapping
Verify your exports. Confirm that all three formats downloaded and that patient_id preserves the original identifiers. Finish when: you can trace an exported answer back to its source document and patient.
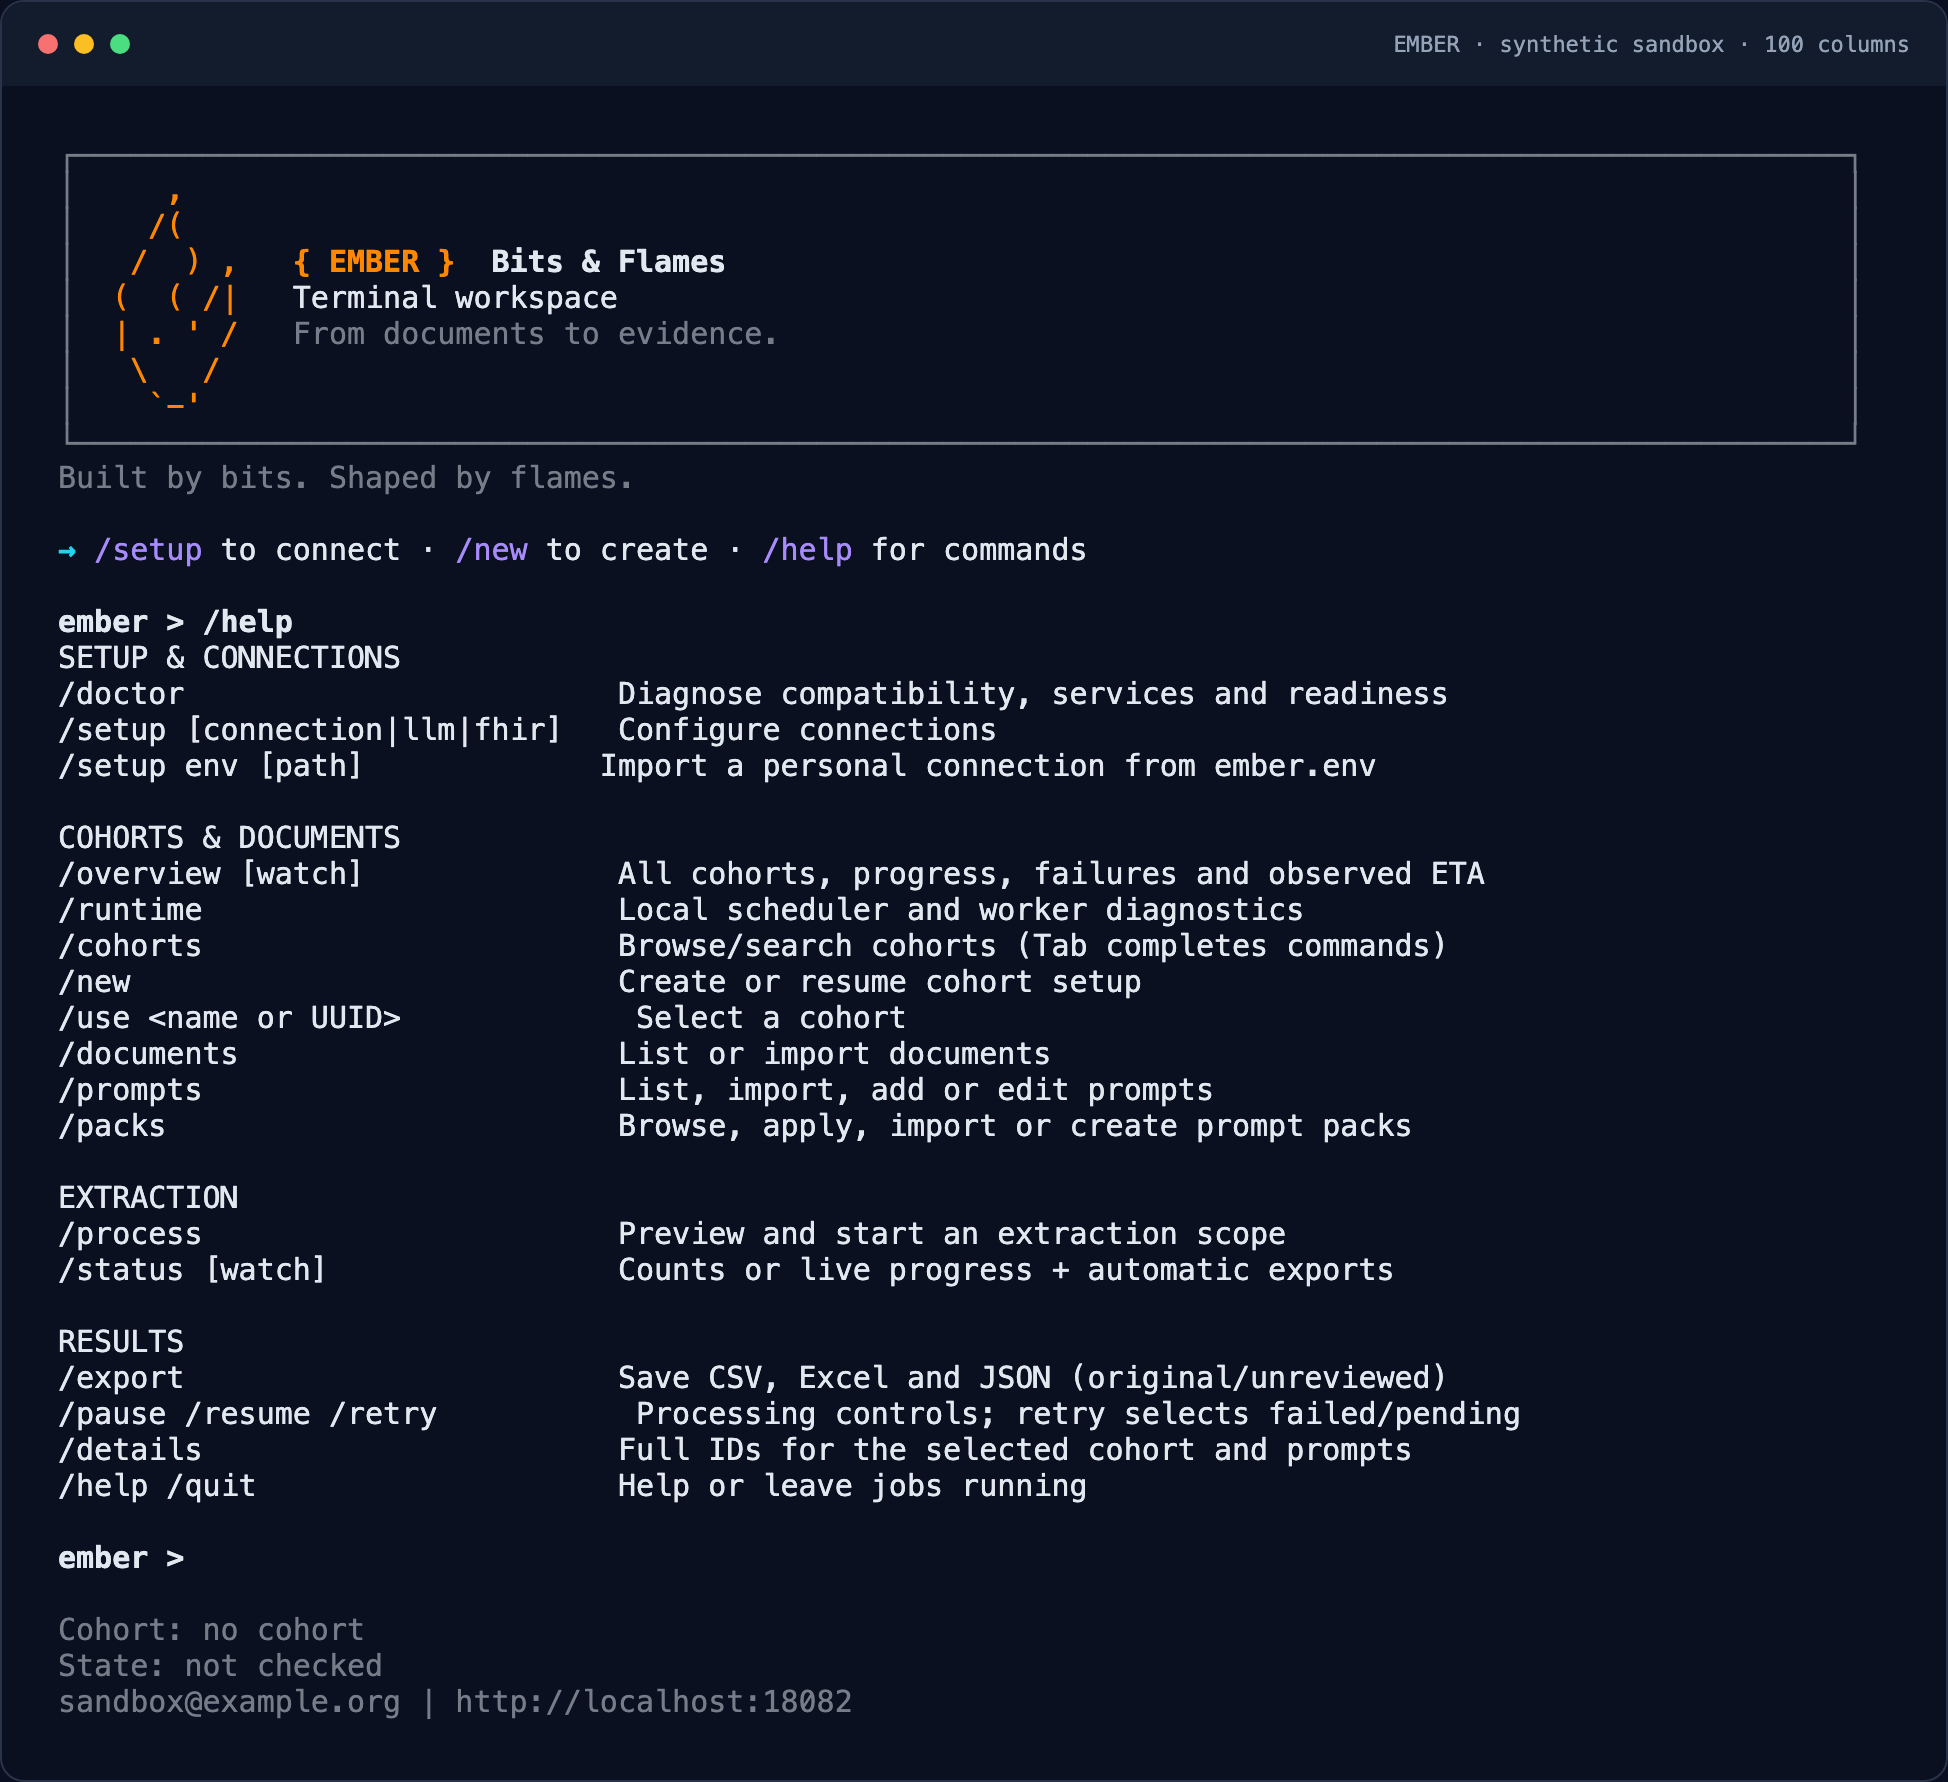
Choose your next step
| You are ready to… | Continue with |
|---|---|
| Fetch protected FHIR or document URLs | Personal fetching connections |
| Use your own LiteLLM or vLLM server | Model endpoint configuration |
| Reuse a set of extraction questions | Prompt packs |
| Follow several cohorts or reconnect | Monitoring and recovery |
| Understand storage and deployment | Where your data lives |
| Resolve a failed step | Troubleshooting |
Screenshots use fictional examples and contain no patient data. Start with the repository installation in Set up Ember, then work through the example cohort at your own pace.